从零开始使用此博客样式
1. 从github fork这个项目
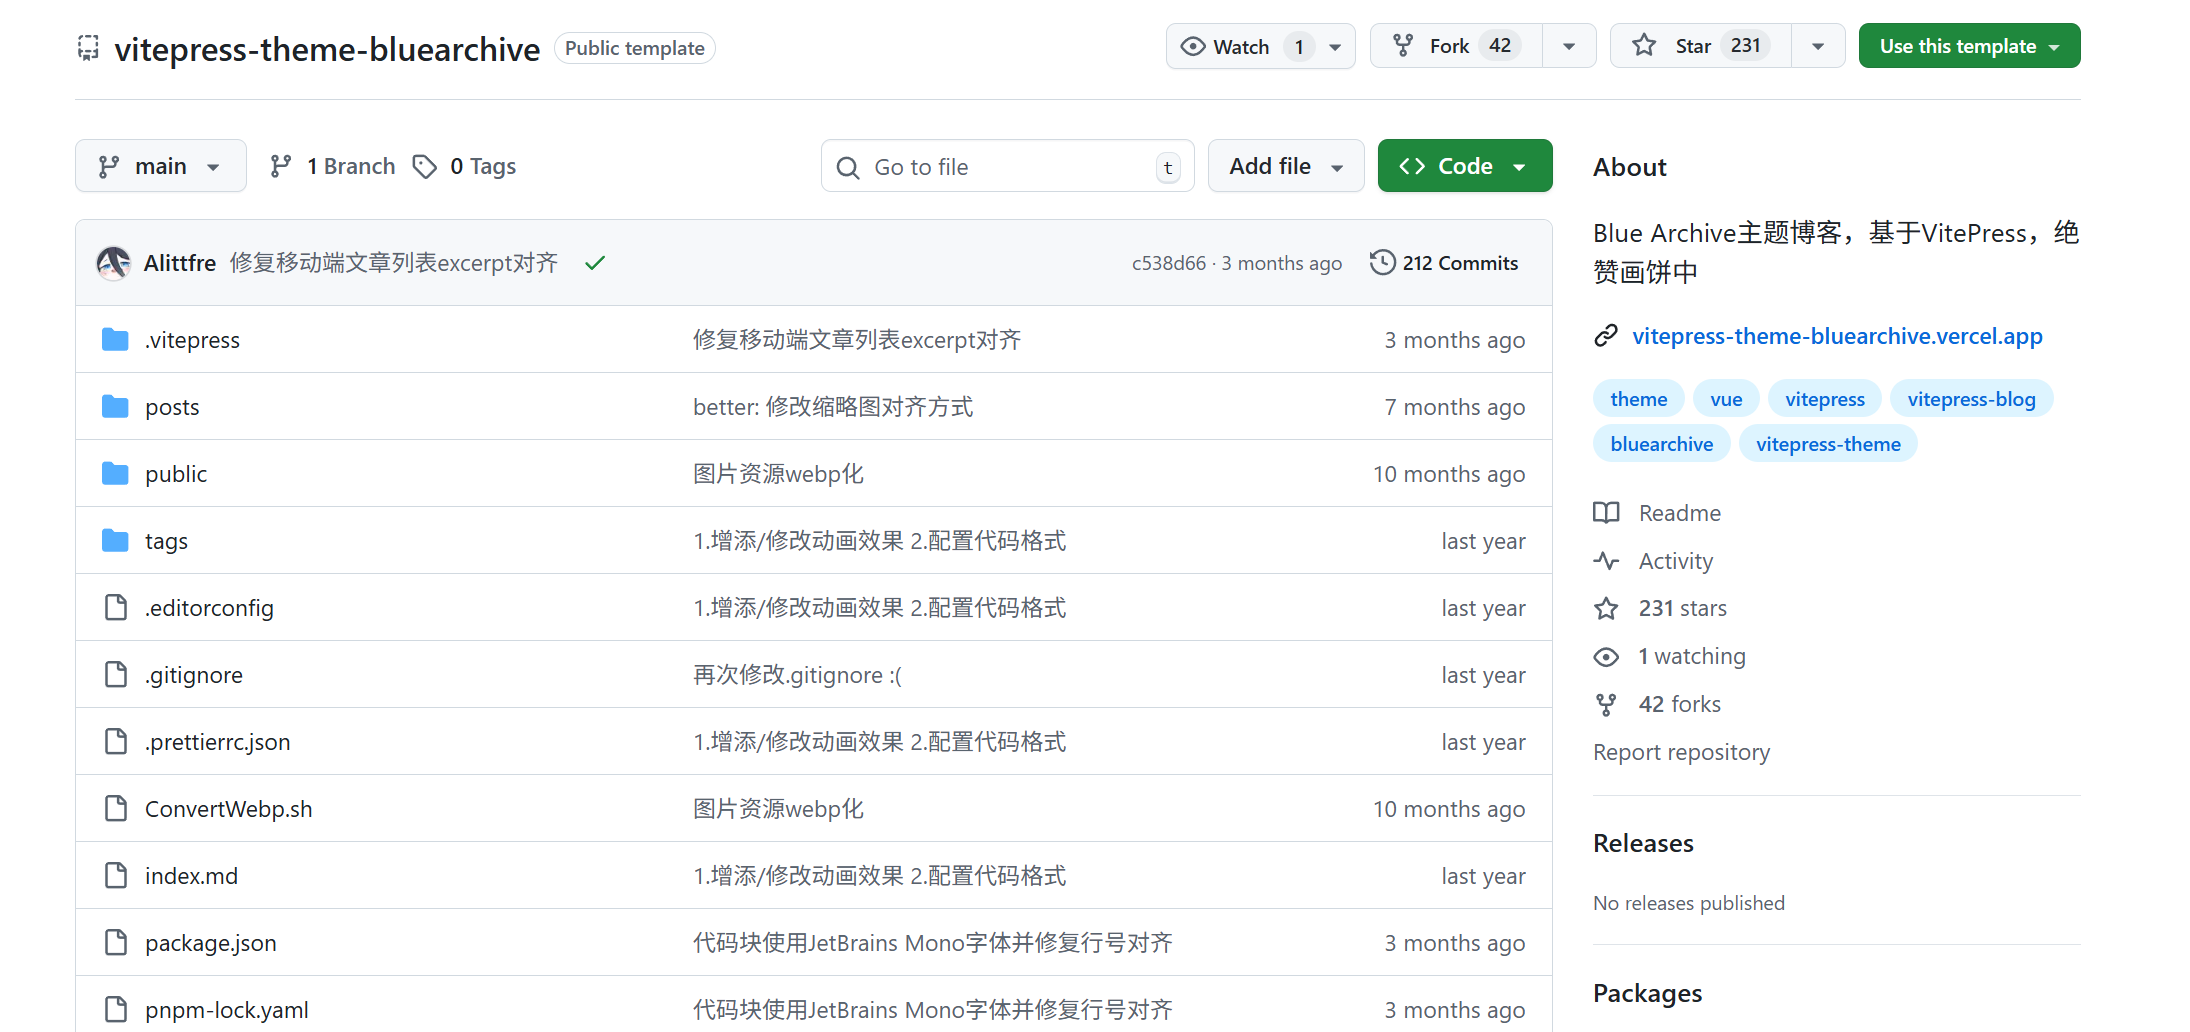
通过github仓库的右上角的绿色按钮 “Use this template” 将此仓库作为模板
将仓库名称改为 <你的昵称>.github.io 并且将公共可见性设置为 public
TIP
你也可以将可见性设为私有,这样干意味着你的博客将不会对外公开
2. 配置GitHub page

在github的上栏中选择 Settings , 并在左侧找到 Pages , 在 Build and deployment 栏目中将 Source 设置成 Github Actions
3. GitHub Actions 相关配置
在项目的 .github/workflows 目录中创建一个名为 deploy.yml 的文件,其中包含这样的内容:
yml
# 构建 VitePress 站点并将其部署到 GitHub Pages 的示例工作流程
#
name: Deploy VitePress site to Pages

on:
  # 在针对 `main` 分支的推送上运行。如果你
  # 使用 `master` 分支作为默认分支,请将其更改为 `master`
  push:
    branches: [main]

  # 允许你从 Actions 选项卡手动运行此工作流程
  workflow_dispatch:

# 设置 GITHUB_TOKEN 的权限,以允许部署到 GitHub Pages
permissions:
  contents: read
  pages: write
  id-token: write

# 只允许同时进行一次部署,跳过正在运行和最新队列之间的运行队列
# 但是,不要取消正在进行的运行,因为我们希望允许这些生产部署完成
concurrency:
  group: pages
  cancel-in-progress: false

jobs:
  # 构建工作
  build:
    runs-on: ubuntu-latest
    steps:
      - name: Checkout
        uses: actions/checkout@v4
        with:
          fetch-depth: 0 # 如果未启用 lastUpdated,则不需要
      - uses: pnpm/action-setup@v3 # 如果使用 pnpm,请取消注释
        with:
          version: 9
      # - uses: oven-sh/setup-bun@v1 # 如果使用 Bun,请取消注释
      - name: Setup Node
        uses: actions/setup-node@v4
        with:
          node-version: 20
          cache: pnpm # 或 pnpm / yarn
      - name: Setup Pages
        uses: actions/configure-pages@v4
      - name: Install dependencies
        run: pnpm install # 或 pnpm install / yarn install / bun install
      - name: Build with VitePress
        run: pnpm run build # 或 pnpm build / yarn build / bun run build
      - name: Upload artifact
        uses: actions/upload-pages-artifact@v3
        with:
          path: .vitepress/dist

  # 部署工作
  deploy:
    environment:
      name: github-pages
      url: ${{ steps.deployment.outputs.page_url }}
    needs: build
    runs-on: ubuntu-latest
    name: Deploy
    steps:
      - name: Deploy to GitHub Pages
        id: deployment
uses: actions/deploy-pages@v44. 启动actions
点击 Actions 启动部署
主题配置
音乐 首页背景 头像在.vitepress/theme/assets/banner 可单独设置暗色模式首页背景,命名为banner_dark.webp
配置文件在.vitepress/config.mts
ts
export default defineConfigWithTheme<ThemeConfig>({
  //...

  // 生成站点地图
  sitemap: {
    hostname: 'https://vitepress-theme-bluearchive.vercel.app', //替换为你自己的域名
  },

  // 站点标题配置
  title: "Sensei's 部落格",
  description: "Sensei's 部落格",

  themeConfig: {
    //banner区配置
    videoBanner: false, //是否显示视频背景
    name: "Sensei's 部落格", //首页标题
    welcomeText: 'Hello, VitePress', //首页欢迎语
    motto: ['和你的日常,就是奇迹', '何気ない日常で、ほんの少しの奇跡を見つける物語。'], //首页motto
    social: [ //社交链接配置(netease_music,coolapk,reddit)
      { icon: 'github', url: 'https://github.com/' },
      { icon: 'bilibili', url: 'https://www.bilibili.com/' },
      { icon: 'qq', url: 'https://im.qq.com/index/' },
      { icon: 'wechat', url: 'https://weixin.qq.com/' },
    ],

    //spine语音配置,可选zh/jp
    spineVoiceLang: 'jp',

    //footer配置
    footerName: 'Sensei',
    poweredList: [
      { name: 'VitePress', url: 'https://github.com/vuejs/vitepress' },
      { name: 'GitHub Pages', url: 'https://docs.github.com/zh/pages' },
    ],

    //gitalk配置
    clientID: 'YourClientID',
    clientSecret: 'YourClientSecret',
    repo: 'YourRepoName',
    owner: 'YourGitHubName',
    admin: ['YourGitHubName'],
  }
}),文章配置
md
---
title: 标题
date: 日期
tags: [标签1, 标签2]
pinned: true 文章置顶,默认false
head:
  - - meta
    - name: description
      content: SEO优化描述
  - - meta
    - name: keywords
      content: SEO优化 关键词

---
文章摘要,会在文章列表中显示

---

文章主体内容祝顺利😘
